カスタムビニール玩具の究極ガイド:デザイン、製造、マーケティングのヒント
このブログ記事を楽しんでお読みいただければ幸いです。カスタムビニールのおもちゃをお探しなら、 ここをクリック
スケッチを売り切れのビニール・フィギュアにすることを夢見ながら、専門用語やコストに圧倒されていませんか?このガイドは、当て推量を排除し、すべてのステップをマッピングします。
最初のコンセプトから最終的な出荷まで、勝てるビニール玩具は3つの柱に従っている:ファンの嗜好に合った思慮深いデザイン、品質とコストのバランスを考慮した生産の選択、コレクターの話題を喚起する的を絞ったマーケティング。これらをマスターすれば、あなたのキャラクターは、数ヶ月でページから予約注文へとジャンプアップすることができる。
それぞれの柱について説明し、落とし穴を明らかにし、工場でテストされたヒントを共有しよう。
目次
成功するビニール玩具のデザインとは?
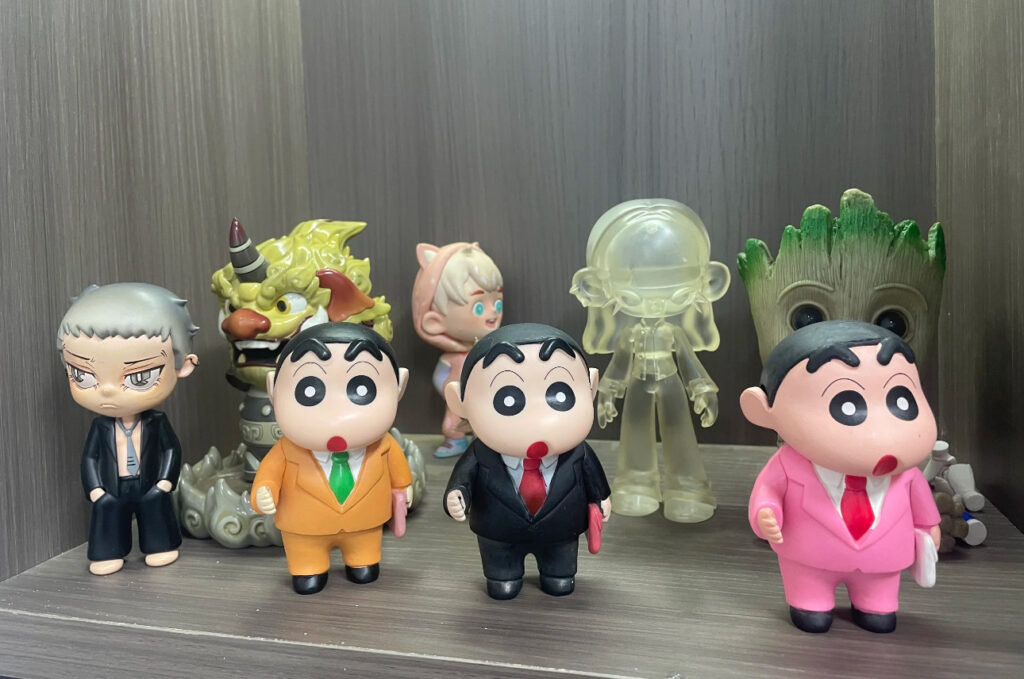
ビニール玩具の長期的な魅力は、生き生きとしたシルエット、表情豊かな顔、混雑した棚やインスタグラムのフィードでも目立つプロポーションといったキャラクターから始まる。
3Dソフトを開く前に、おもちゃのストーリー、ターゲット、スケールを明確にしましょう。強力なバックストーリーと認識しやすい形状は、棚に並べたときのインパクトと、より良いマーチャンダイジング写真につながり、オーガニックなシェアと再販需要を促進します。
親指の爪でシルエットを描くことから始める。アウトラインが瞬時に読み取れれば、ディテールはそれを強調するだけだ。次に、高さ、幅、アーティキュレーション・ポイントといった主要な寸法を決める。アクセサリーや交換可能なパーツが、後にどのようなバリエーションSKUを生み出すかを検討する。彩度の高い色調は、ネット上ではよく目立ちますが、成形中にずれる可能性があります。工場での正確さのために、承認されたパントンを文書化する。
制作前に必要なファイルタイプとデザイン仕様とは?
そのため、クリーンなデジタルファイルを供給することは、コンセプトそのものと同じくらい重要なのだ。
3D部品のSTLまたはOBJメッシュ、パッド印刷用のレイヤー化されたAI/PDFアートを納品。分解図、正確な寸法、パントンコードを含めることで、プロジェクト途中でのコストのかかる再設計を回避できます。
モデルが多様で、穴が開いていたり、法線が反転していたり、面が重なっていないことを確認する。可動パーツ(ヘッド、アーム)は、公差が明確な個々のシェルに分割してください。プリントゾーンには、1:1スケールのベクターマスクを用意してください。材料、仕上げ(マット/グロス)、パッケージングコンセプトを記載した簡潔な仕様書は、エンジニアリングチームと原価計算チームの両方が最初のパスで正確に見積もるのに役立ちます。
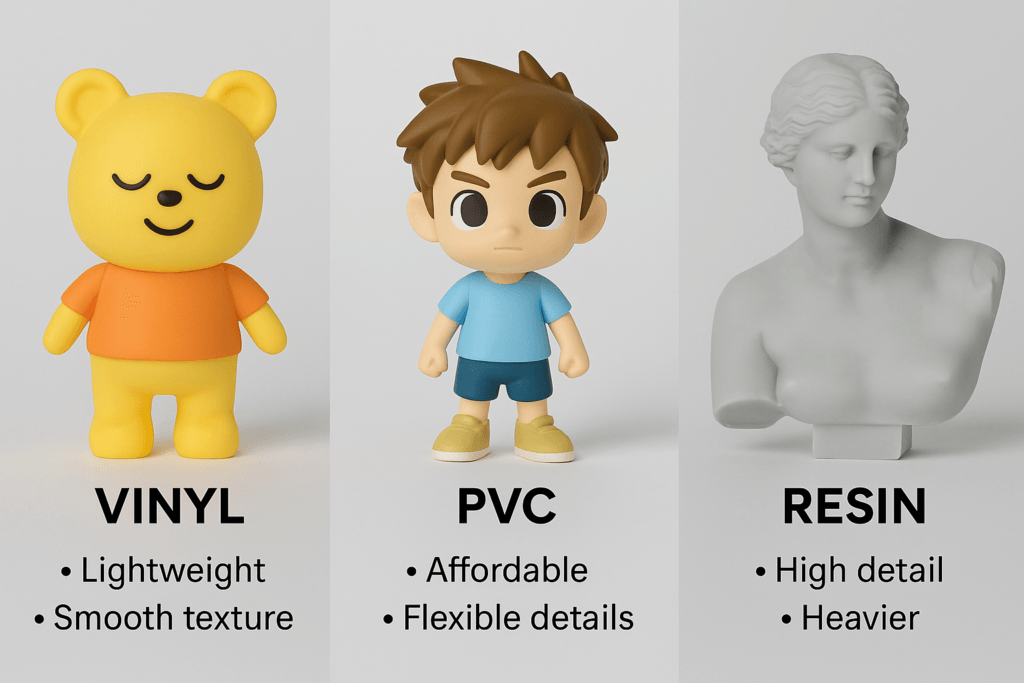
おもちゃにはソフトビニール、PVC、樹脂のどれを選ぶべきか?
素材の選択は、質感、重量、金型価格、そして顧客の記憶に残る開封時の印象を左右する。
ソフト・ビニールは軽量でノスタルジックだが、シャープなエッジが制限されている。樹脂は微細なディテールを鮮明に描き出すが、欠けやすい。
フィギュアの形ががっしりしていて、クラシックな怪獣の雰囲気を出したいなら、ソフトビニール(ロトキャスト)が合う。コレクターズスタチューや少量生産品には、レジンの彫刻のような仕上がりが有利だが、数十回引っ張ると型が劣化する。500~10,000体程度であれば、射出成型のPVCやABSとPVCの混合が、耐久性に優れ、塗装がしやすく、金型代が安く済むため、スイートスポットとして注目されている。
カスタムビニール玩具は、最初から最後までどのように製造されるのか?
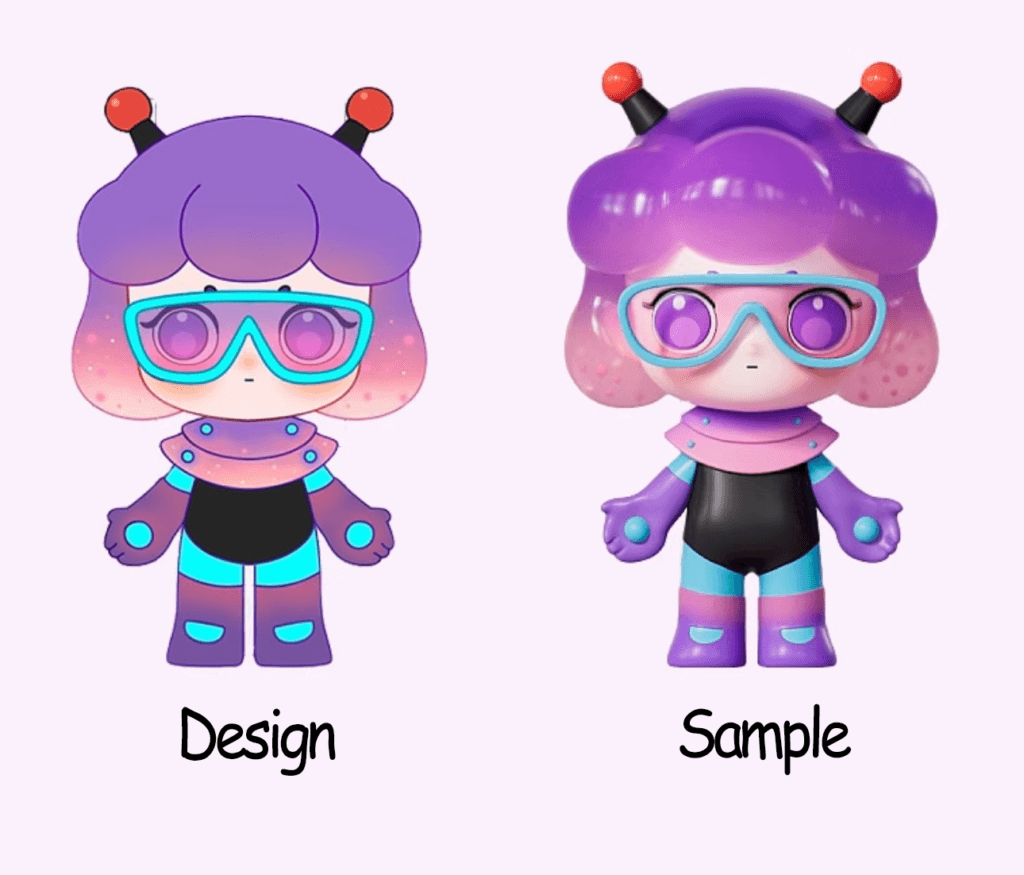
ピクセルをプラスチックに変えるには、正確なリレーが必要で、デジタル彫刻、スチール工具、テストショット、塗装、そしてスケジュールと評判の両方を守る厳しいQCチェックポイントがある。
マスターモデル&ツーリング(3~6週間)、最初の製品サンプル(2週間)、QCのためのパイロットラン(1週間)、そして本生産&梱包(4~6週間)。修正のための余分な時間をバッファしておくこと。
3Dプリントを承認した後、エンジニアはモデルを型取り可能なパーツにスライスし、最適な流れになるようにゲートや通気孔を追加します。高速CNCマシンが硬化鋼を切削し、EDMが微細なテクスチャーを磨き上げます。テストショットでヒケや流れが見つかったら、塗装マスキングの前に修正します。手刷りまたはパッド印刷でグラフィックを施し、クリアコートで表面の芸術を保護します。各フィギュアを保護用クラムシェルに封入する前に、接合部、塗装の位置、落下試験の耐久性を最終検査でチェックします。
OEMビニール玩具工場と円滑に仕事をするには?
週1回のチェックポイント、ビジュアルプルーフ、明確なサインオフなど、コミュニケーションのリズムがプロジェクトの円滑な進行を左右する。
参考写真、色見本、明確な変更ログを共有する。複雑な調整にはビデオ通話を使用し、タイムスタンプ付きのQC写真を要求する。
デジタルスカルプトのフリーズ、モールドカット、ファーストショット、ペイントサンプル、納品といったマイルストーンのある制作カレンダーを取り決める。ラインの停止を避けるために、フィードバックウィンドウ(48時間)を割り当てる。SlackやWeChatの共同グループにより、承認を加速させる。外箱の寸法はカートン数と運賃に影響する。最後に、出荷前検査報告書を要求する。評判の良いOEMは第三者監査員を歓迎している。
概要
このガイドに従って、魅力的なキャラクターデザインを計画し、工場ですぐに使えるファイルを納品し、理想的な素材を選び、コストを管理し、発売前にマーケティングの話題を作りましょう。明確なチェックリストと実際の数字で、初歩的なミスを防ぎ、自信を持って規模を拡大することができます。コラボレーションの準備はできましたか?Eメール お問い合わせ.
今すぐ無料見積もりをリクエストしてください!
こんにちは、ミアです!
私の仕事は、クライアントの製品をより美しく、より楽しいものにするので、アートトイ業界を本当に楽しんでいます。カスタムビニール玩具について質問があれば、お気軽にご連絡ください!
カスタムアートおもちゃ – あなたの創造力を解き放ちましょう!
私たちについて
当社は、お客様の独創的なアイデアをユニークで高品質なフィギュアに変えることに注力しているカスタムビニール玩具メーカーです。細部とカスタマイズに重点を置き、個人プロジェクトから限定版コレクションまで、お客様のビジョンを実現します。